How to Make Delicious Dairy-Free Yogurt at Home
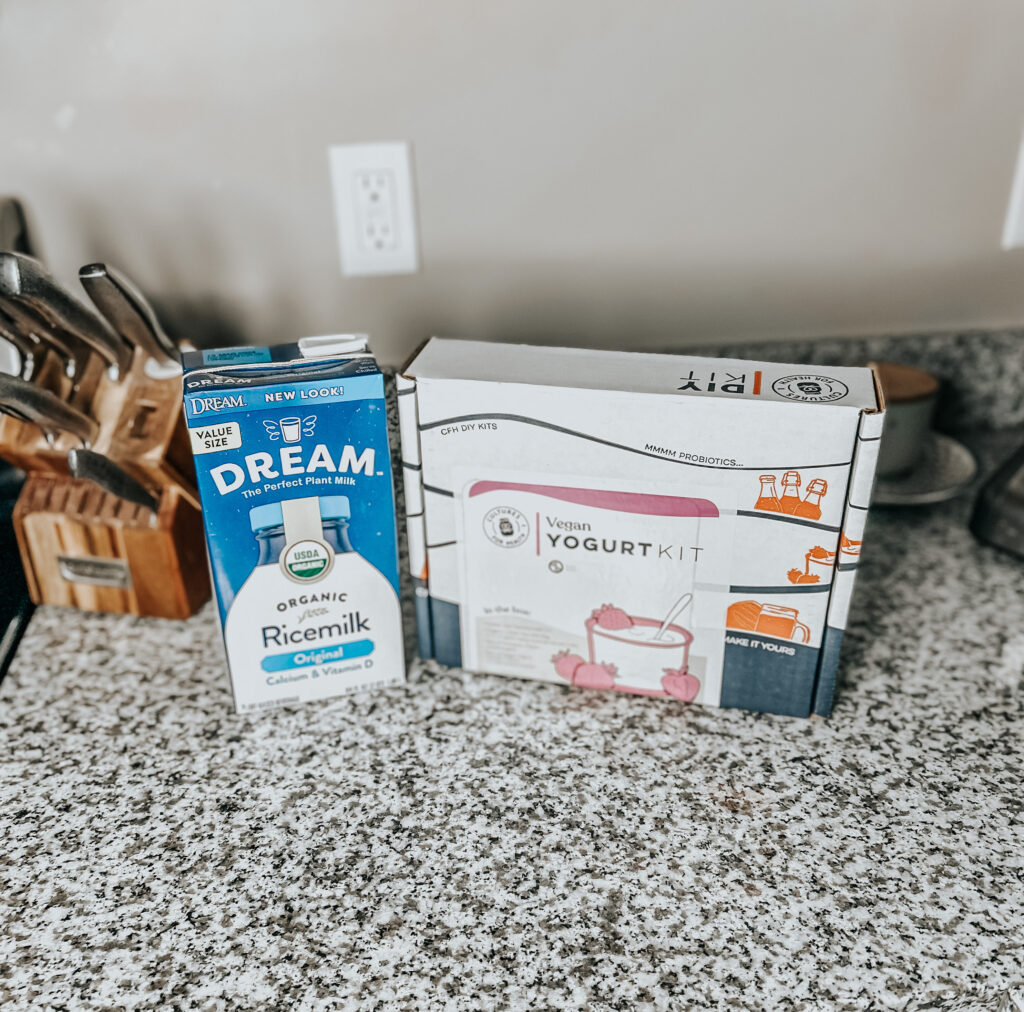
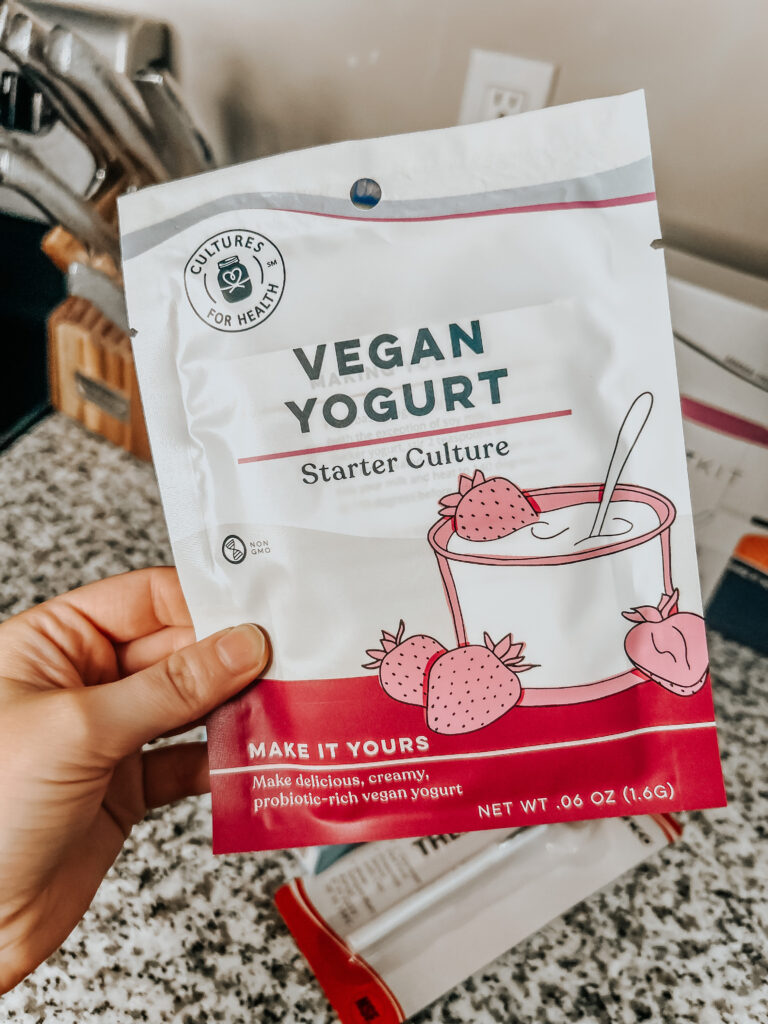
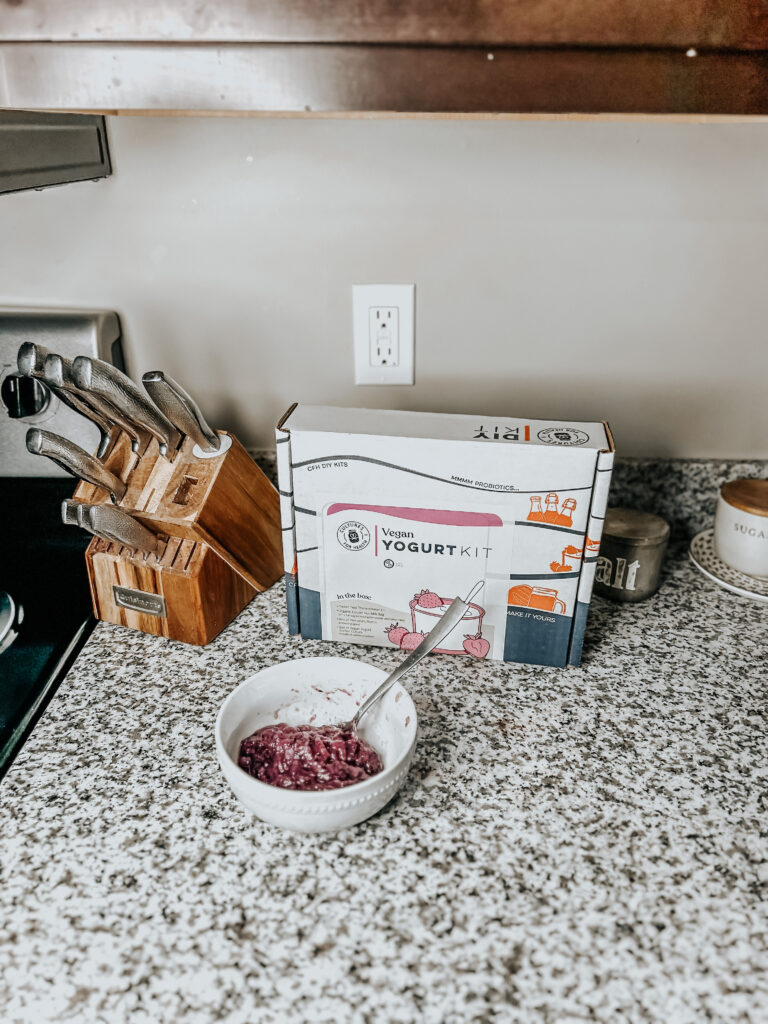
Are you looking for a dairy-free alternative to traditional yogurt? Perhaps you’re allergic to dairy or sensitive to lactose. Whatever the reason may be, you don’t have to forego the creamy, tangy taste of yogurt. Today, we’ll guide you through the steps to make delicious dairy-free yogurt right in the comfort of your home. All you need is rice milk, soy milk, or raw nut milk with a Culture for Health Dairy Kit. Let’s get started!
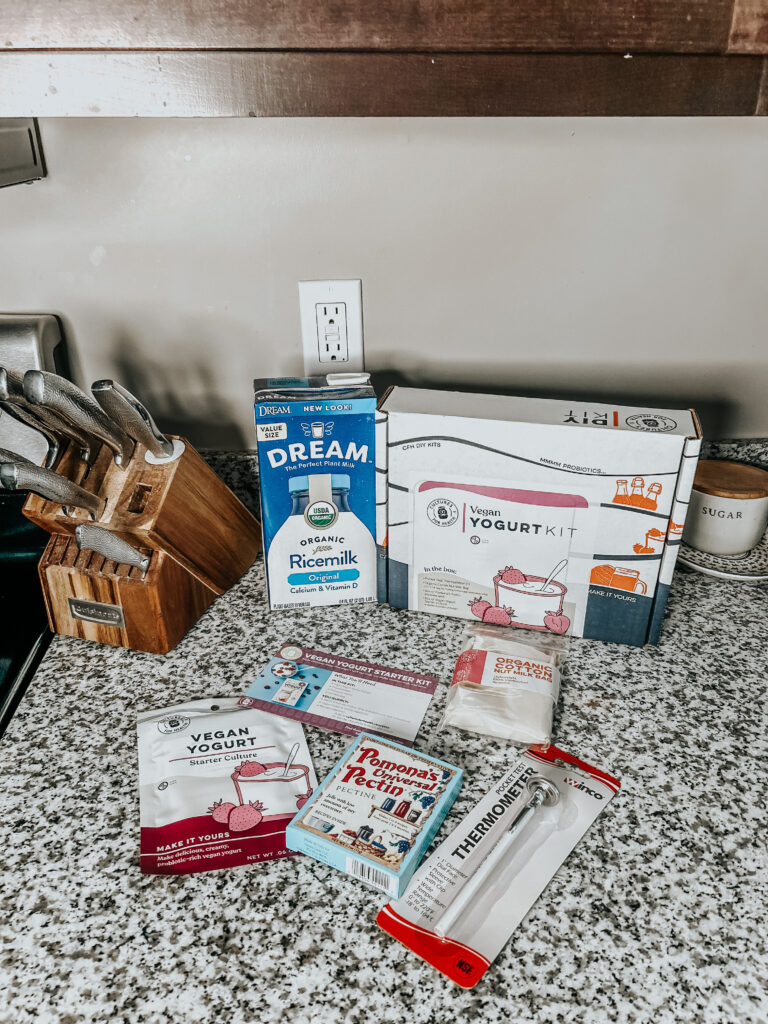
What You Will Need
It’s more cost-effective and easy to grab the starter kit but you need…
- Rice milk, soy milk, or a nut milk
- dairy-free culture packet
- a thermometer
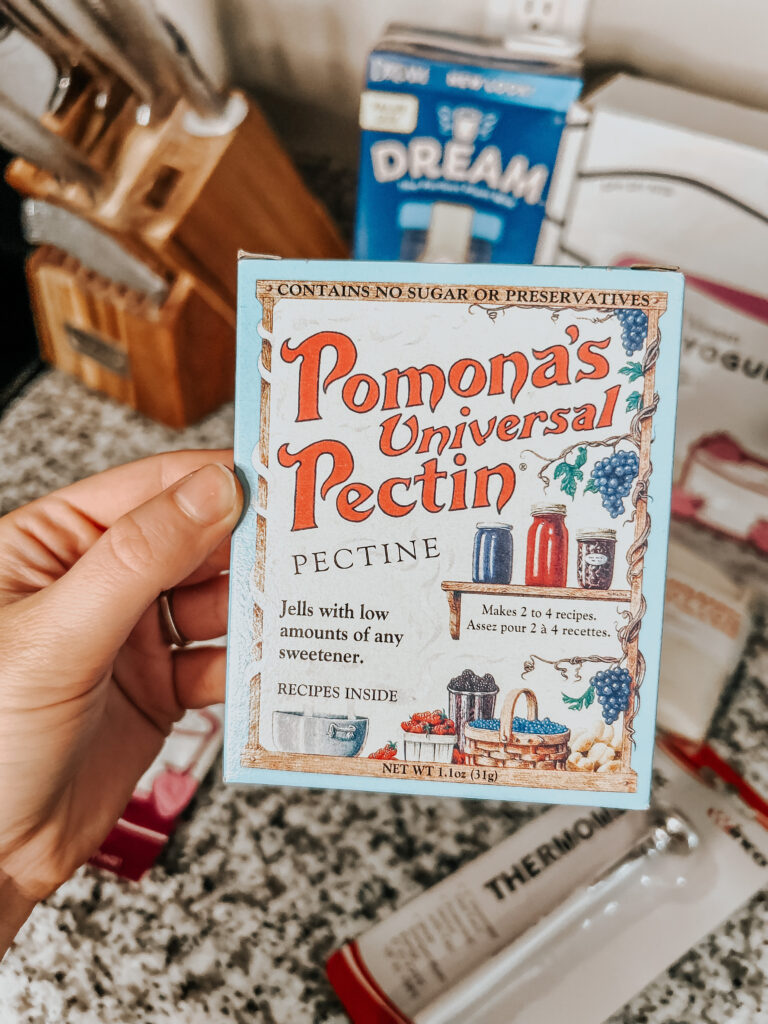
- Pectin
- glass culturing container – just a mixing bowl
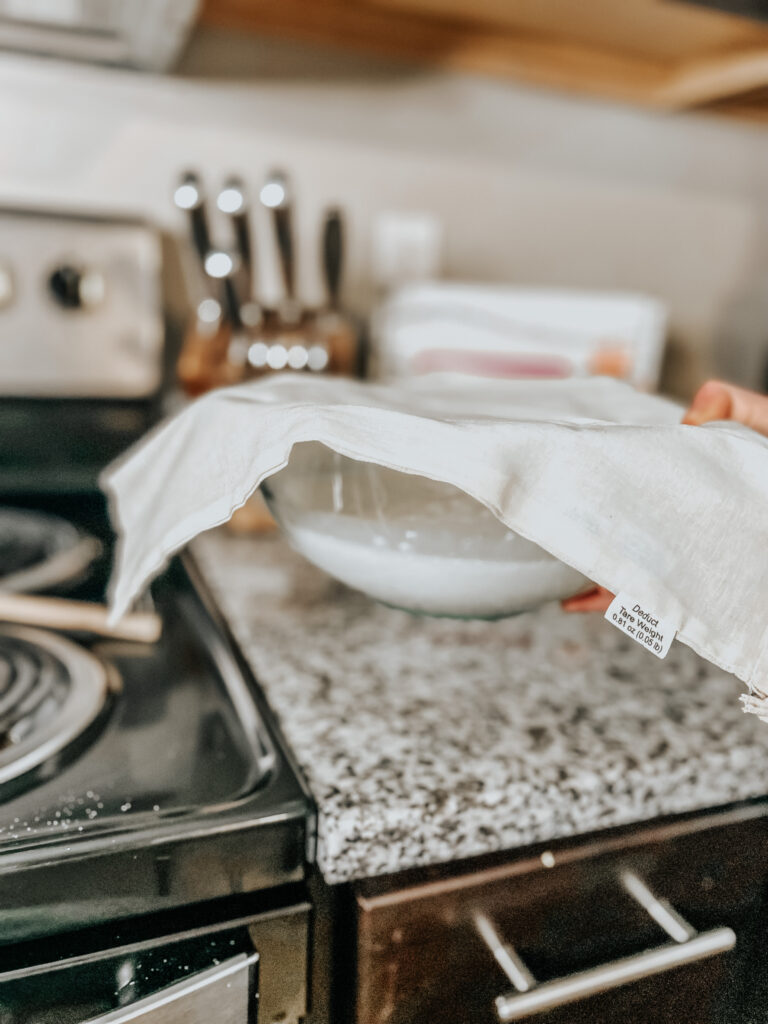
- something to cover the yogurt like a kitchen towel
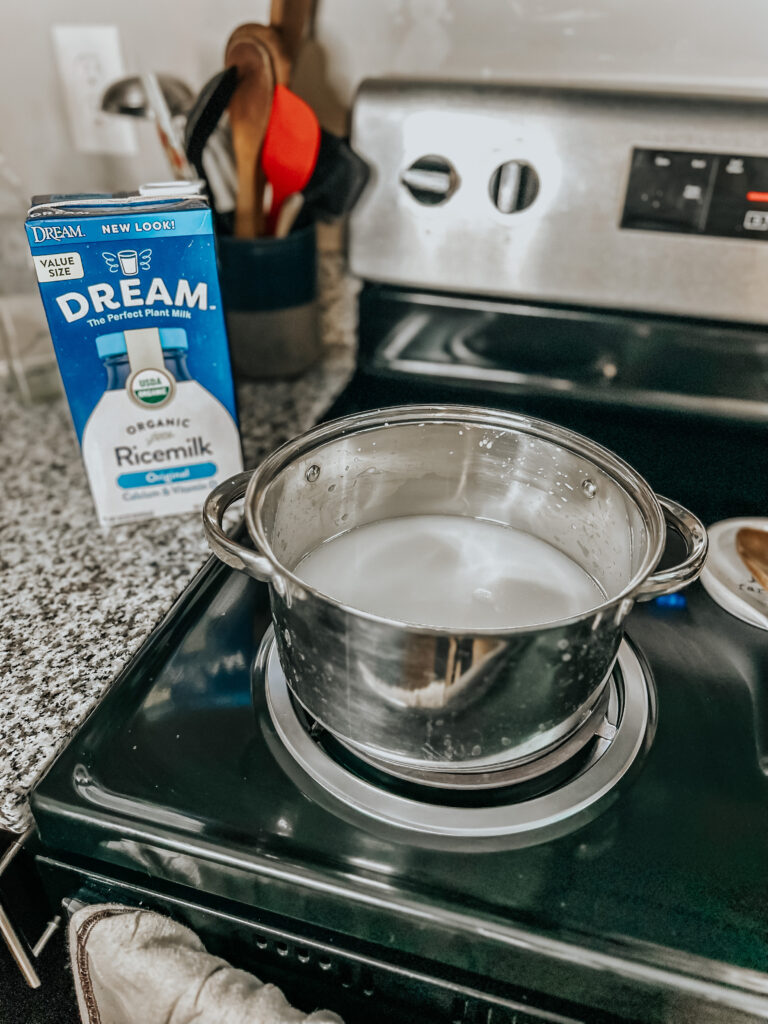
Step 1: Add the Pectin and Heat the Rice Milk
You want to add the pectin first! Otherwise, it will be difficult to stir in later. I made this mistake and ended up using a blender to blend it together well, which still worked! Next, pour the rice milk into a large pot and heat it to 140°F. This can take about 20 minutes. Make sure you keep stirring the milk so it doesn’t burn or stick to the bottom of the pot. Once the milk has reached the right temperature, let it cool down to 110°F.
Step 2: Add the Culture for Health Packet
Open the Culture for Health packet and follow the instructions on the label. Mix the contents with a quarter cup of cooling rice milk and ensure there are no lumps. Add the mixture to the pot of rice milk and mix well.
Step 3: Incubate the Yogurt
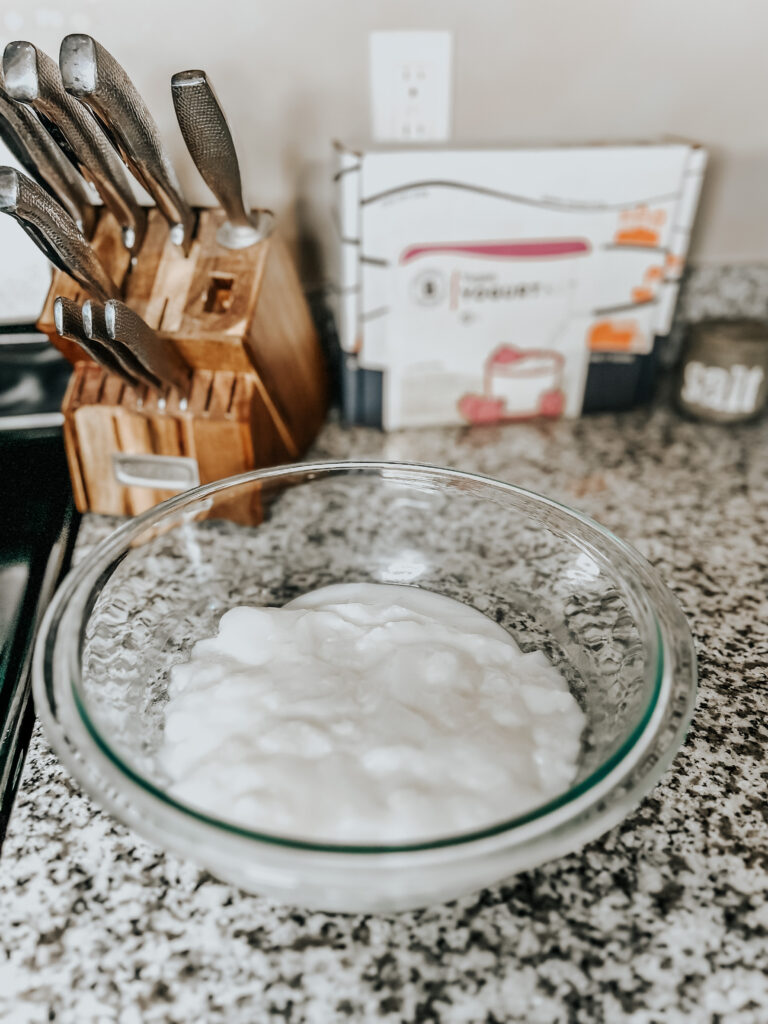
Place the yogurt into a yogurt maker or into a glass bowl. Set the temperature to 110°F if using a yogurt maker. If you’re not using a yogurt maker, I just place it in the oven with the oven off. Then let it sit for at least 8 hours but no more than 24 hours. The longer the incubation time, the tangier the yogurt will be. After the incubation time is over, check the consistency and taste of the yogurt. If it’s too runny, you can strain it using a cheesecloth or coffee filter.
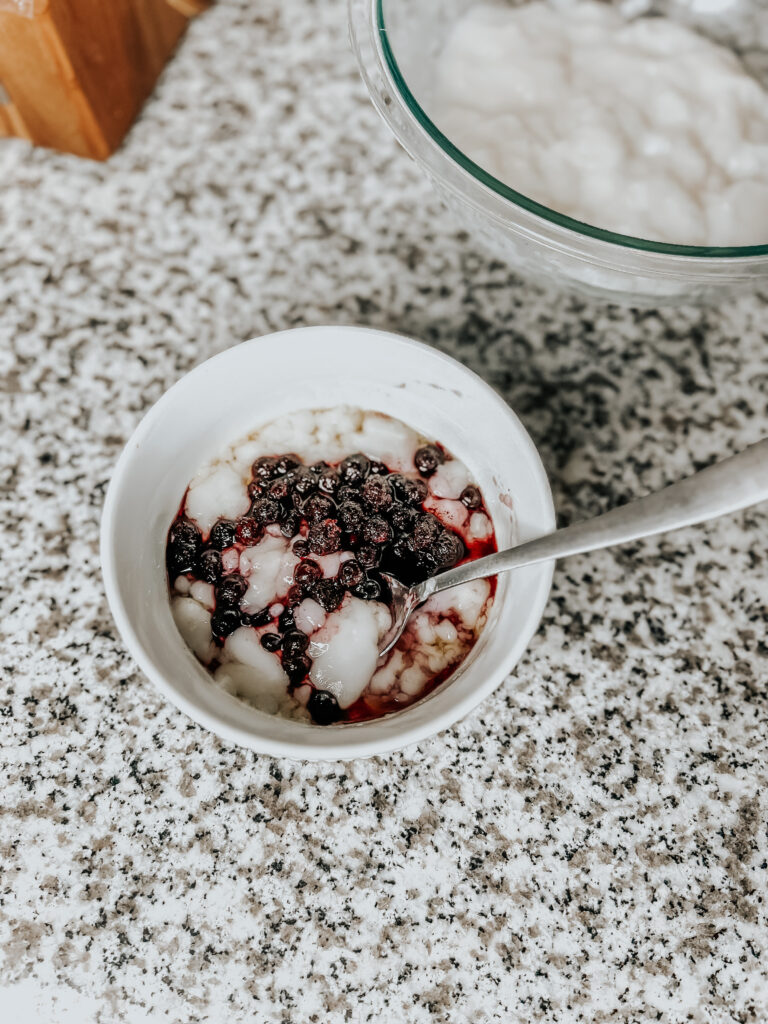
Step 4: Enjoy Your Dairy-Free Yogurt
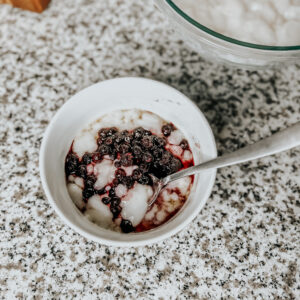
Once the yogurt is ready, transfer it to a container with a lid and refrigerate for at least two hours to chill. You can enjoy your dairy-free yogurt as is or add toppings such as fruit, granola, and honey. The possibilities are endless! We used maple syrup and blueberries. A pro tip is, if you don’t like the texture because the yogurt didn’t get stirred well in the process of making it, just blend it all up. The blender will make the consistency MUCH smoother so you don’t have to throw it out.
Making dairy-free yogurt at home is easy and cost-effective. It’s also a perfect solution for people with a dairy allergy or lactose intolerance. In our home, we use raw milk for my nephew’s dairy allergy. He can’t do pasteurized so we can use this same starter to make sure it’s pasteurized milk free! With a little bit of patience and the right ingredients, you can enjoy the creamy, tangy taste of yogurt. So, what are you waiting for? Give it a try!
Check out my other dairy-free probiotic-rich water Keifer recipe here!

Equipment
- Glass mixing Bowl for culturing or a Yogurt Maker
Ingredients
- 4 cups Rice milk, Soy milk, OR a Raw nut milk
- 1 packet of culture
- Any toppings like blueberrys, or maple syrup
- 2 tsp Pectin (less if needed)
Instructions
- Add 1 or 2 tsp of pectin to 4 cups of your dairy-free milk. use the blender if you can't get it blended! It is so much easier to so that your texture turns out well.
- Heat the milk to 140 °F in a medium pan.
- Take it off the burner and let it cool to 110 °F and add it to the yogurt maker or glass bowl.
- Set the yogurt makers to 110 °F OR if not using a yogurt maker put the glass bowl in the oven with the oven off. Let it sit 8-24 hours.
- After 8-24 hours it should be thickened and ready to serve! You can put it in the fridge to get cold or serve it room temperature with toppings of your choice. If it doesn't look appetising to you or your texture if funky, just add it to the blender to smoothen it!
Get your Dairy-Free Yogurt Kit!
CODE: “KIERSTEN15X” for 15% off your kit.
")
Leave a Reply
OSEA MALIBU
The BEST 72 hour lasting clean face & skin moisturizer!
DIME BEAUTY
Lash serum, Clean Perfumes that smell AMAZING, glowing skincare.
PEMF MAT
The frequency to support healing. It's heated to help you relax. Lexi uses it too!
CULTURES FOR HEALTH
Lash serum, Clean Perfumes that smell AMAZING, glowing skincare.
")
")
F A V O R I T E
T H I N G S
Here, you'll find a carefully curated list of items that I've personally tried and loved, covering everything from household items to fashion accessories, and more.
If you crave a life that's focused on homemaking, clean living, and/or western fashion, then you're going to love what I'm loving.
MY MOST LOVED THINGS IN ONE PLACE


Be the first to comment