How to Make Gluten-Free Sourdough Starter – A Step-By-Step Guide
Sourdough bread has been a beloved staple in many cultures for centuries. Its unique tangy flavor, chewy crust, and soft, airy crumb make it a favorite among bread enthusiasts. But what if you’re gluten intolerant or have celiac disease? I know I struggled to figure out with gluten-free how I could make sourdough bread to help heal my gut! You can still enjoy the wonderful world of sourdough by creating a gluten-free sourdough starter and it’s just as easy as gluten starters. Today, we’ll guide you through the process step by step.
Before we begin, here’s a brief overview of sourdough starters:
A sourdough starter is a mixture of flour and water that captures wild yeast and beneficial bacteria from the environment. These microorganisms work together to ferment the mixture, producing bubbles of carbon dioxide gas, which leaven the bread. With regular feeding and care, a gluten-free sourdough starter can be maintained for years, even generations!

Ingredients for Gluten- Free Sourdough Starter:
- Gluten-free flour: You can use a variety of gluten-free flour like rice flour, brown rice flour, sorghum flour, or a gluten-free flour blend. Choose one that suits your taste and dietary preferences. This is what I use. I also am big on einkorn flour as it has healed my gut so much. Many Gluten- Free flours are filled with starches ad even if it’s fermented it can still be junky to add that to your diet.
- Water: Use filtered or dechlorinated water to avoid inhibiting yeast growth.
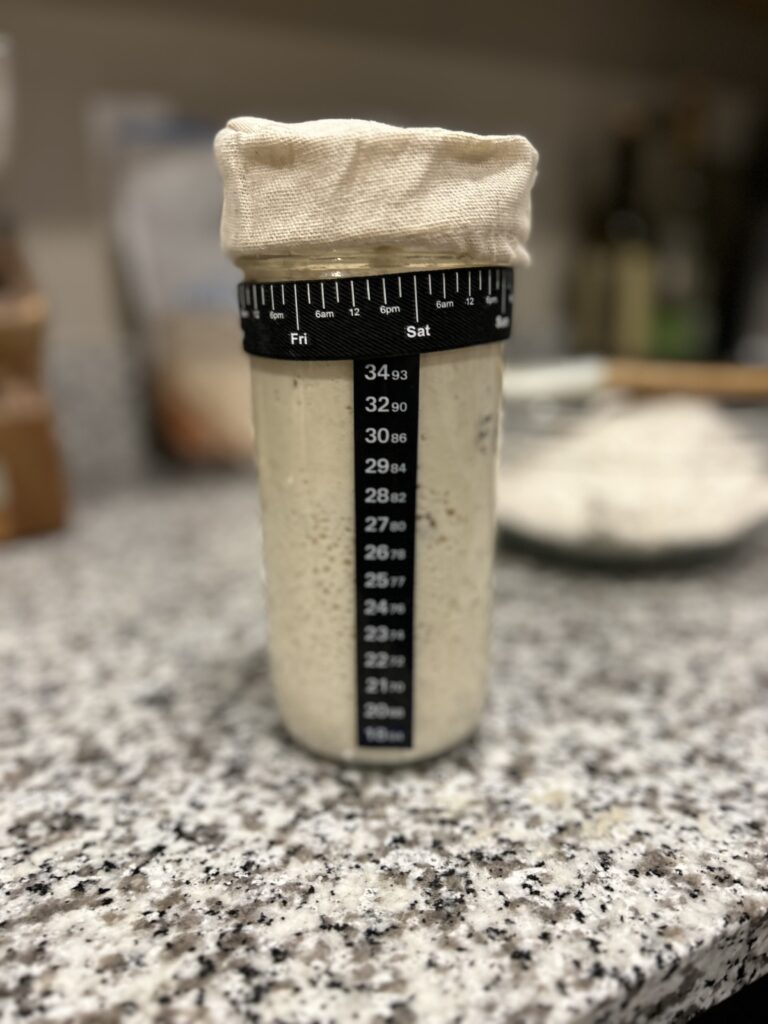
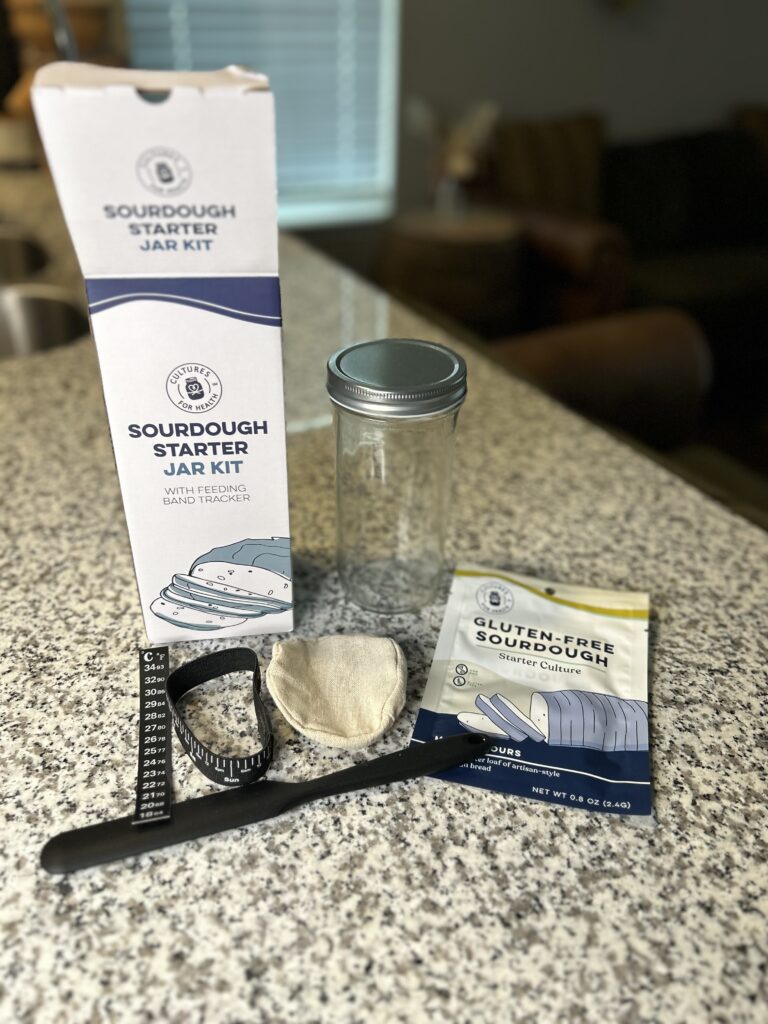
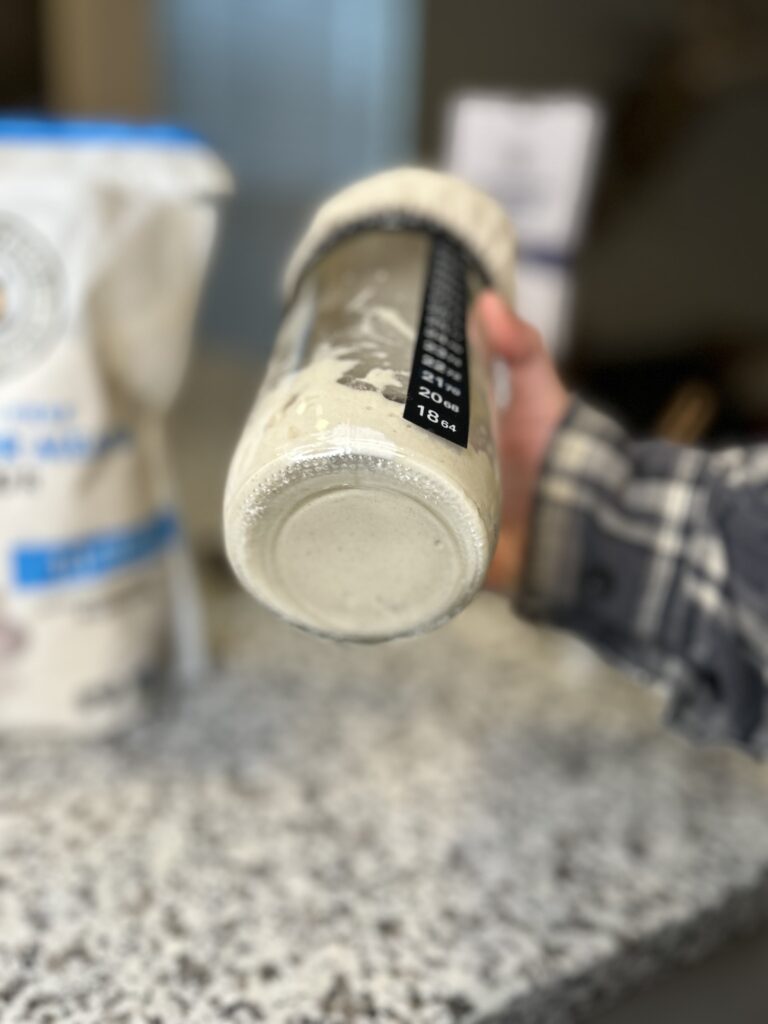
- Glass or plastic container: Ensure it has enough room for the starter to expand. I use this jar set, because it has everything you need. I have used a mason jars for years but I love how this kit has measuring tools and a spatula for it! Use CODE: “KIERSTEN15X”.
- A kitchen scale: For accurate measurements.
- A gluten-free sourdough starter culture: This is so much faster and easier to purchase a dried starter. You can start making sourdough bread sooner. Also, this is a good way to ensure your sourdough starter is strong. When it comes to gluten-free flour, since there is no gluten in it which in traditional flour, is what gives bread the ability to rise. It can be tricky but this way you can start making bread with a strong starter which can help with trial and error as a beginner.
A Modern Gluten Starter or Gluten- Free Sourdough Starter?
Let me clarify that if you are gluten free for a health related reason, there are SO many people on the internet sharing about how you can make gluten free sourdough bread with normal gluten starter. Be VERY careful taking that advice. I am someone with celiacs disease and have came so far in my gut health journey. This journey has been long in healing that and it started by eliminating every bit of gluten. I finally got rid of my severe sinus infections and bloating.
I highly suggest using a true Gluten-Free sourdough starter. Even though the gluten would be fermented in the starter, people highly sensitive to gluten may react to it. Amy Myers, who’s diet I was on to help heal my gut, said once, gluten is found in a lot of places and even though your body might not react to it, it can still directly affect your health! Your gut should avoid modern gluten all together as much as possible.
The Cultures for Health Gluten- Free Sourdough Starter:
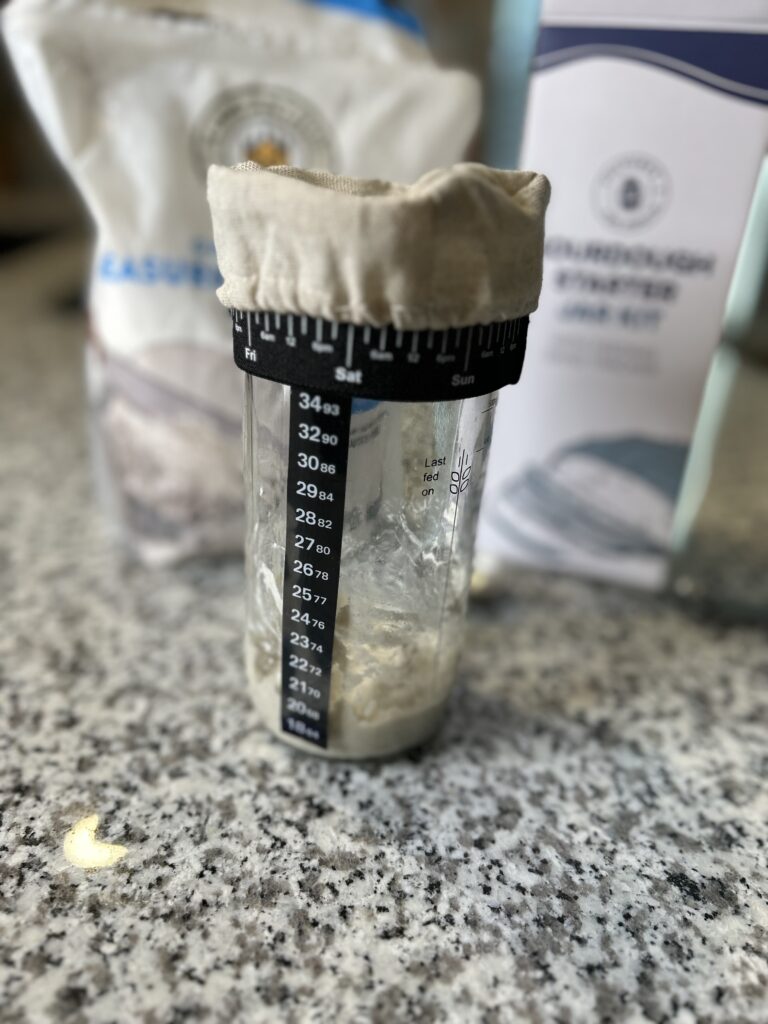
Step 1:
Add the packet of starter to 1 Tbs. of flour and 1 Tbs. of room temperature water in your quart-size jar and stir it thoroughly. If you need more water, add a little bit more! You don’t want it to dry. Cover the jar with a coffee filter and rubber band. Keep your starter in a warm place (70-80 degrees Fahrenheit) for 12-24 hours.
Step 2:
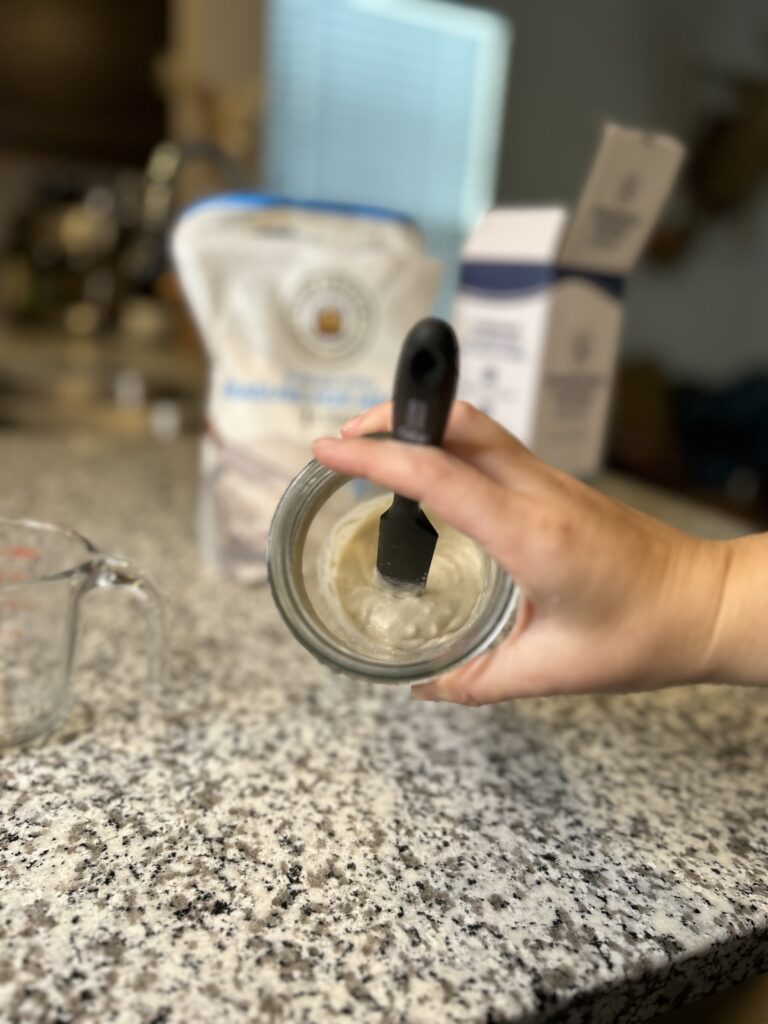
After 4-8 hours, feed your starter with an additional 2 Tbs. Flour and 2 Tbs. Water. Stir thoroughly.
Step 3:
After 4-8 hours, feed the starter with an additional ½ cup flour and ½ cup water, adding more water if needed. It needs to look like pancake batter. Stir it and wait 12-24 hours.
Step 4:
Now discard down to ½ cup starter and feed it with ½ cup water and ½ cup flour. Stir thoroughly. You should see it bubble here a lot! You can use the discard in pancakes, pretzels, or anything that doesn’t require a lot of rise. I did make bread with it and it turned out fine, but maybe do biscuits if you’re not feeling confident in it yet!
Step 5:
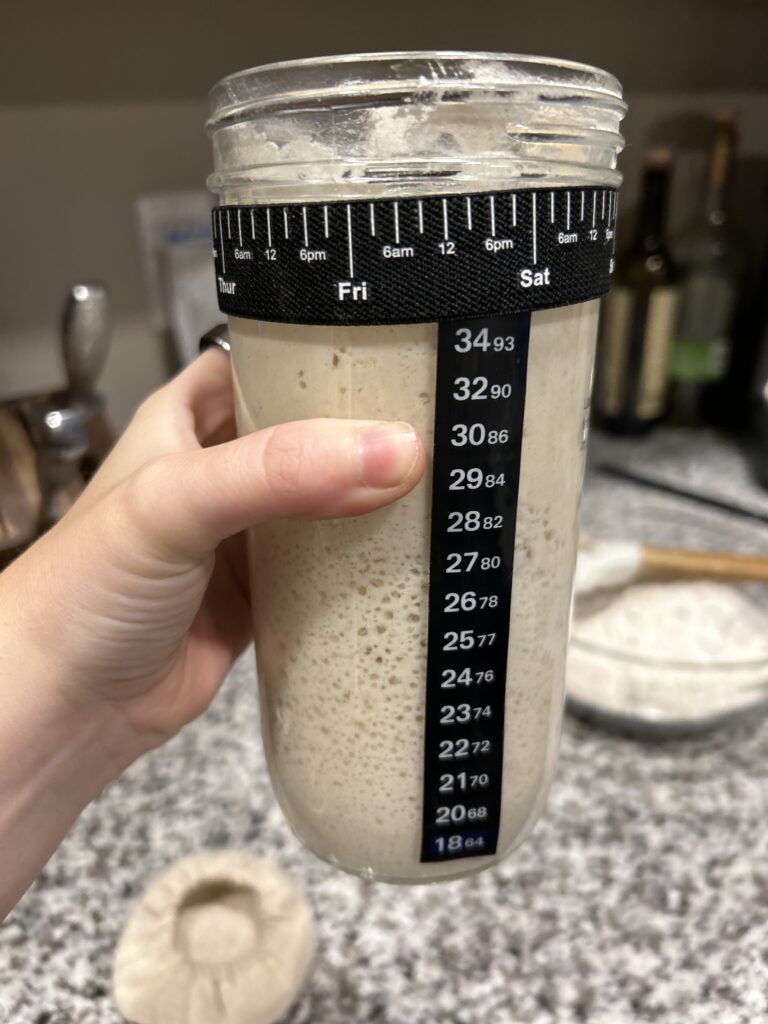
Repeat step 4 every 4-8 hours for 3-7 days. Do this until the starter is like pancake batter and bubbly regularly within a few hours.
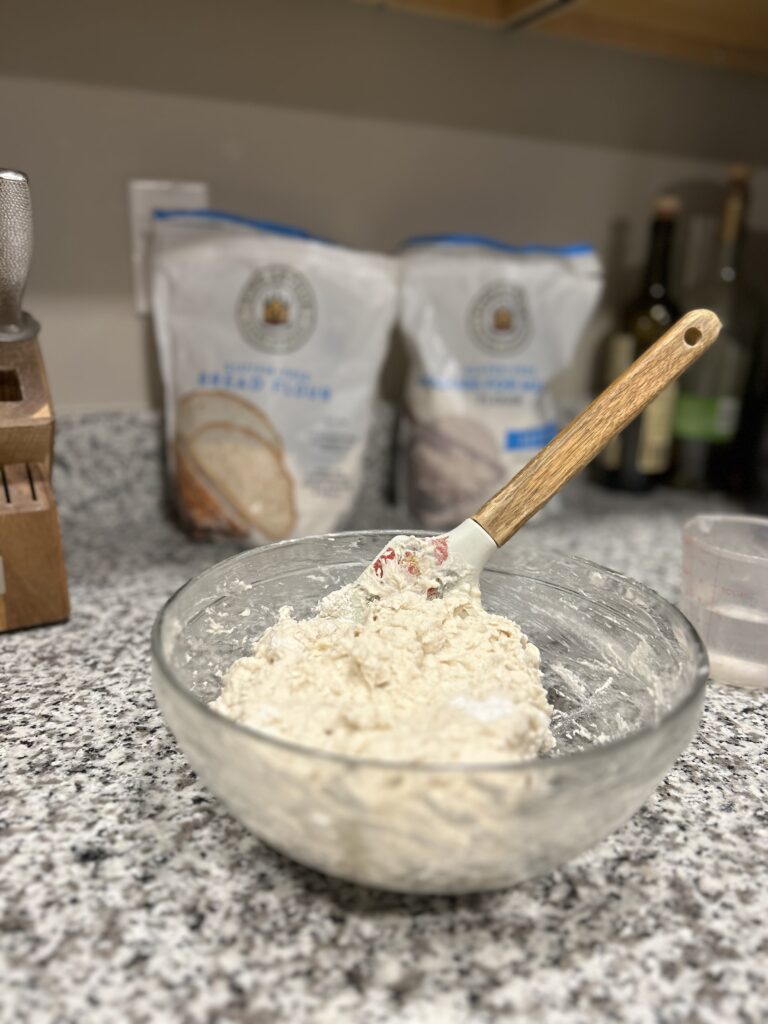
This is the recipe I used for the King Arthur flour. I did use their Bread flour instead of regular gluten-free flour.
Starting your Gluten-Free Starter from Scratch:
Step 1: Day 1 – Creating Your Starter
Measure 100 grams of gluten-free flour: Place it in your container.
Add 100 grams of water: Mix until you have a smooth, thick batter.
Cover loosely: Use a cloth or plastic wrap, secured with a rubber band or string. This allows air in while keeping out contaminants.
Let it sit: Place the container in a warm (70-75°F or 21-24°C), draft-free spot in your kitchen. Leave it for 24 hours.
Step 2: Day 2 – Feeding Your Starter
Check for bubbles: After 24 hours, look for bubbles on the surface. Bubbles are a sign that wild yeast and bacteria are doing their job.
Discard half: Remove and discard half of the starter (about 100 grams).
Add 100 grams of gluten-free flour: Mix well.
Add 100 grams of water: Mix until smooth.
Cover loosely and return the container to its warm spot.
Step 3: Days 3-7 – Daily Feedings
Repeat the process: Continue discarding half and feeding the remaining starter every 24 hours for the next several days.
Watch for growth: You should notice an increase in volume, bubbles, and a sour aroma developing. It may take anywhere from 3 to 7 days for your starter to become active.
Step 4: Your Gluten- Free Sourdough Starter is Ready!
When you observe consistent growth, bubbles, and a pleasant sour smell, your gluten-free sourdough starter is ready to use in recipes.
Maintaining your starter: To keep it alive, you can store it in the fridge and feed it once a week. Before using it in a recipe, take it out and feed it a day or two in advance to revive its activity.
The Liquid Layer
This layer is called the “hooch” and it means you are starving your starter. It’s a liquid layer built up of alcohol. To prevent this you water to refresh your starter more often. This can happen when leaving it in the fridge when you are not using it for storage.
Tips and Troubleshooting:
- Consistency: Your starter’s consistency should be similar to pancake batter. Adjust flour or water as needed.
- Temperature: A consistent warm temperature is essential for the starter’s development. You can use a thermometer to check.
- Patience: Don’t worry if it takes a few extra days to get your starter going. Be patient; it will develop its unique flavor and character over time.
Creating a gluten-free sourdough starter is a rewarding process that opens up a world of delicious, gluten-free sourdough bread possibilities. With just a few simple ingredients and a bit of patience, you can enjoy the wonderful flavors and textures of sourdough without the gluten. So, roll up your sleeves, get started, and savor the joy of homemade gluten-free sourdough bread!
Get your own Sourdough Starter Jar
use code: “KIERSTENZILE15X”
")
Leave a Reply
OSEA MALIBU
The BEST 72 hour lasting clean face & skin moisturizer!
DIME BEAUTY
Lash serum, Clean Perfumes that smell AMAZING, glowing skincare.
PEMF MAT
The frequency to support healing. It's heated to help you relax. Lexi uses it too!
CULTURES FOR HEALTH
Lash serum, Clean Perfumes that smell AMAZING, glowing skincare.
")
")
F A V O R I T E
T H I N G S
Here, you'll find a carefully curated list of items that I've personally tried and loved, covering everything from household items to fashion accessories, and more.
If you crave a life that's focused on homemaking, clean living, and/or western fashion, then you're going to love what I'm loving.
MY MOST LOVED THINGS IN ONE PLACE


Be the first to comment