Easy Cheese Recipe: A Step-by-Step Guide to Making Ricotta Cheese
Unlock the world of artisanal cheese-making by mastering the art of crafting your very own ricotta at home. This simple process requires just a few ingredients and a bit of patience. In this guide, we’ll take you through the step-by-step process and offer some delightful ideas to make the most of your homemade ricotta.
Ricotta vs. Cottage Cheese:
While both are dairy products, ricotta and cottage cheese differ in their production methods and textures. Ricotta is made from the whey left after making cheese, while cottage cheese is curds formed from fresh milk. Ricotta has a smoother texture and is often used in sweet dishes, whereas cottage cheese has a chunkier texture and is popular in savory dishes.
Making Ricotta Cheese at Home:
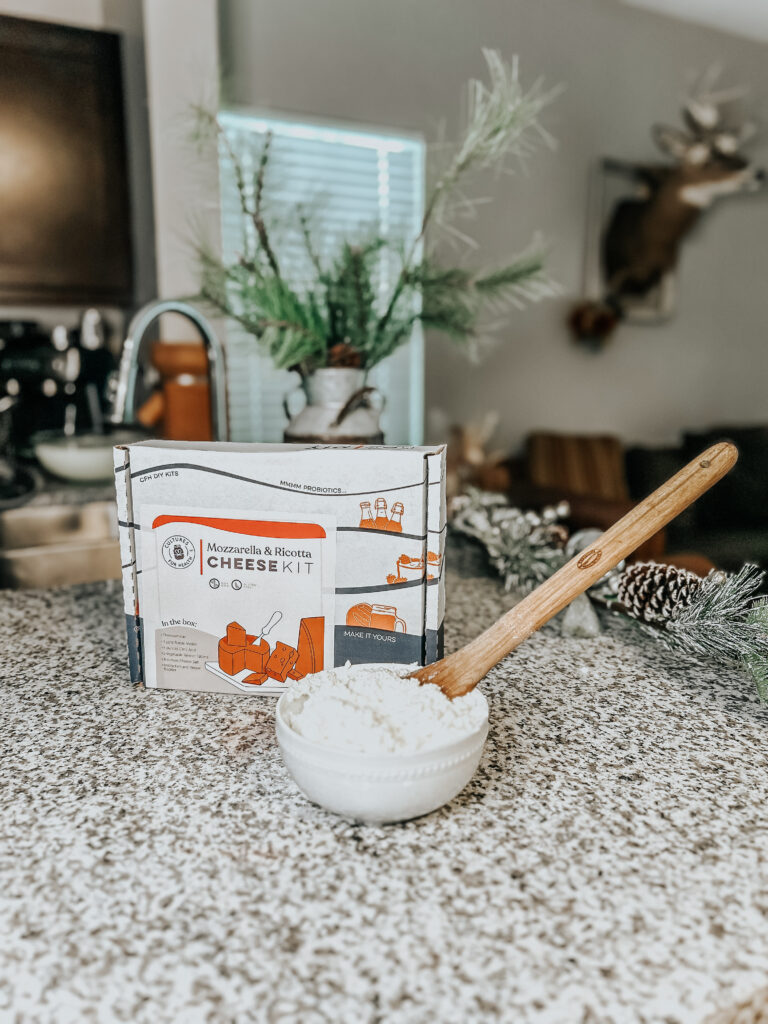
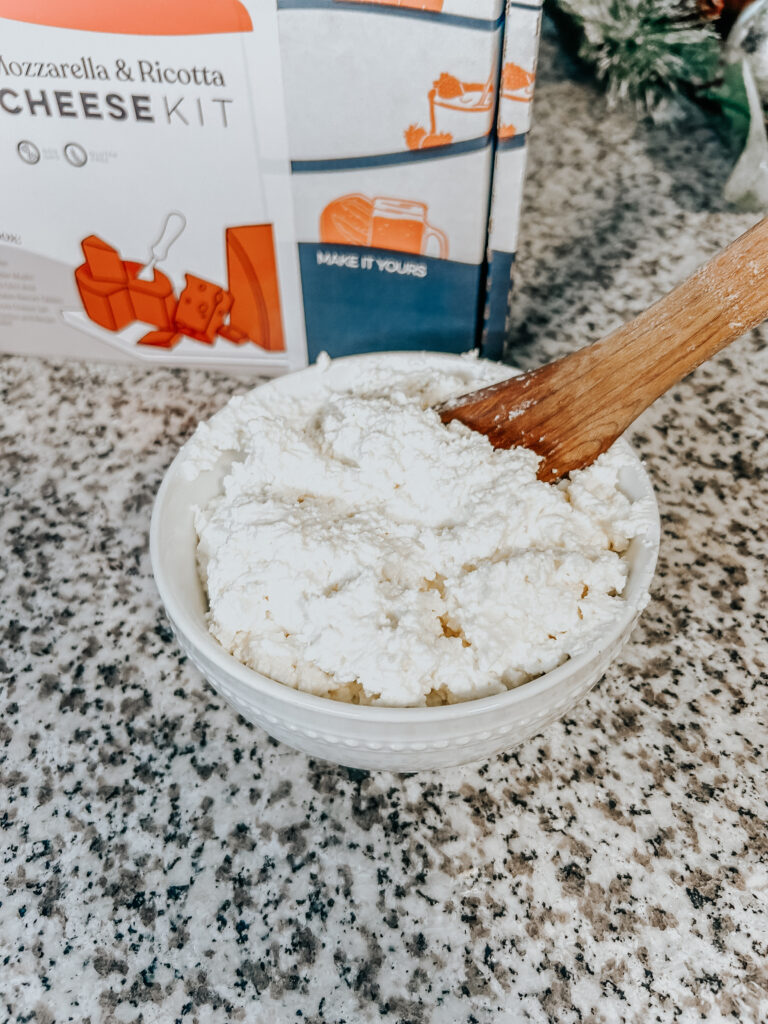
This is my 2nd Mozzarella and Ricotta Cheese Kit from Cultures for Health and this is the BEST way to start making cheese at home. The kits make it easy to make many batches of cheese as well as give you all the tools to start. Use code “KIERSTEN15X” for 15% off your order here.

Ingredients:
– 1-gallon whole milk
– 1 teaspoon citric acid
– Salt (optional, to taste)
– 2 tablespoons heavy cream
Equipment:
– Large, heavy-bottomed pot
– Thermometer
– Cheesecloth
– Fine-mesh strainer
OR purchase the cheese kit that makes many batches of cheese here!
Instructions:
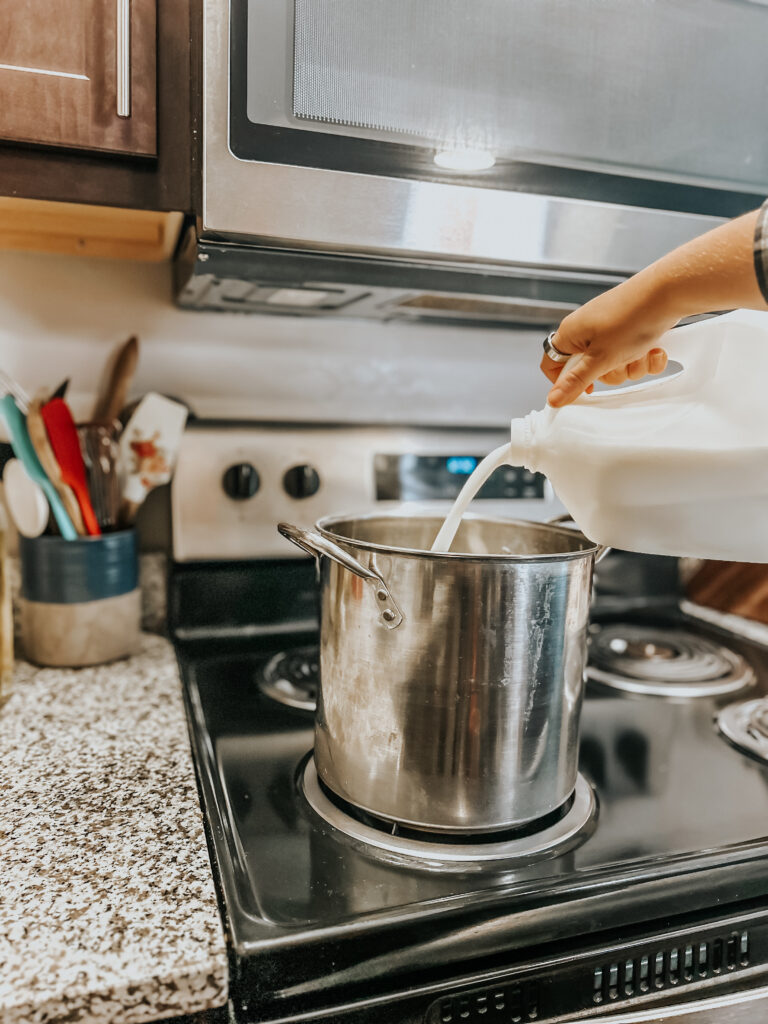
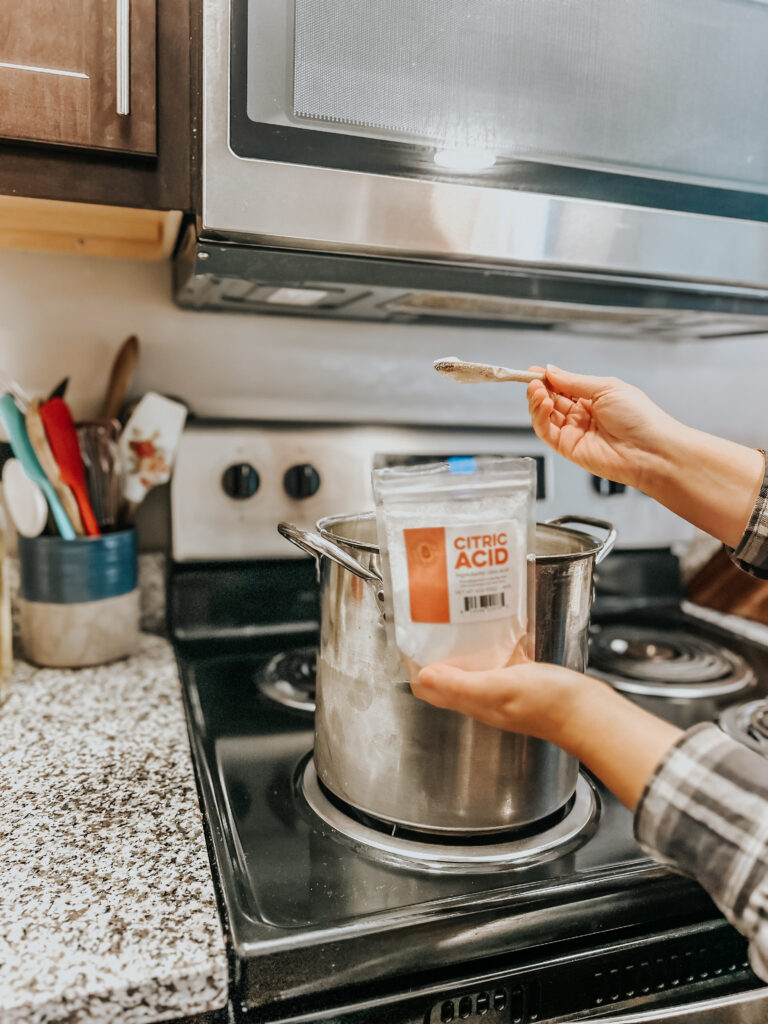
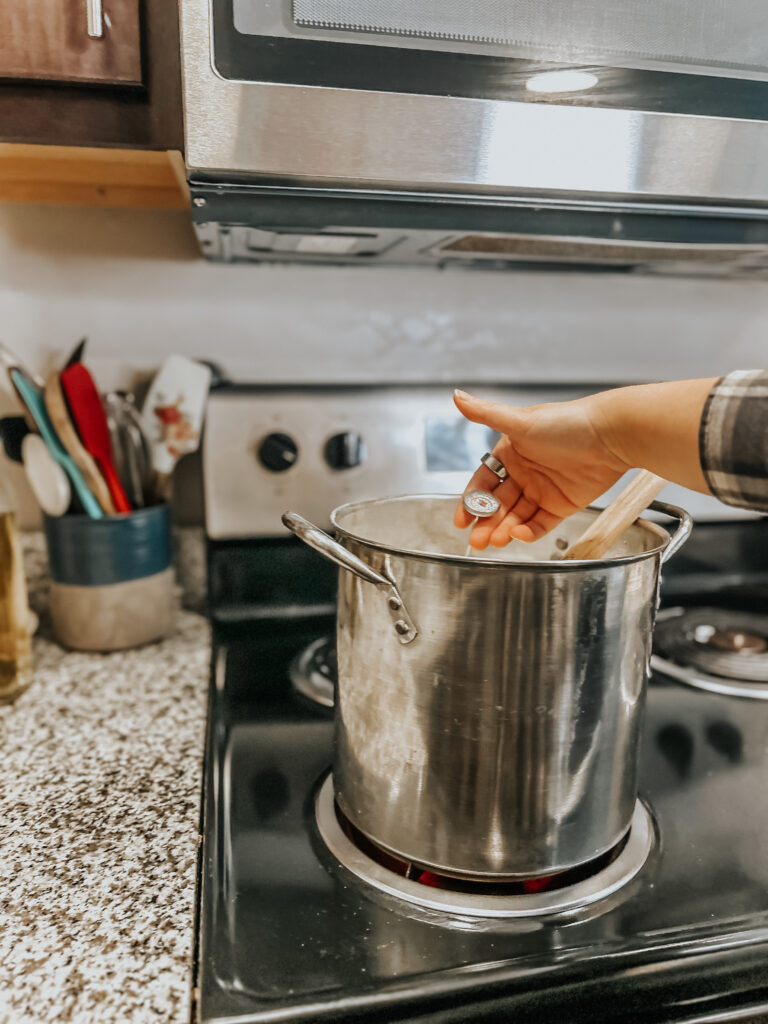
1. Heat the Milk and Add Citric Acid:
Pour the whole milk into a large, heavy-bottomed pot. Dissolve 1 teaspoon of citric acid. You can add salt now if desired. Next heat it over medium heat, heating it up slowly. Use a thermometer to monitor the temperature. Aim for around 195°F (90°C), stirring occasionally to prevent scalding. I worked up to high heat to get to the correct temperature.
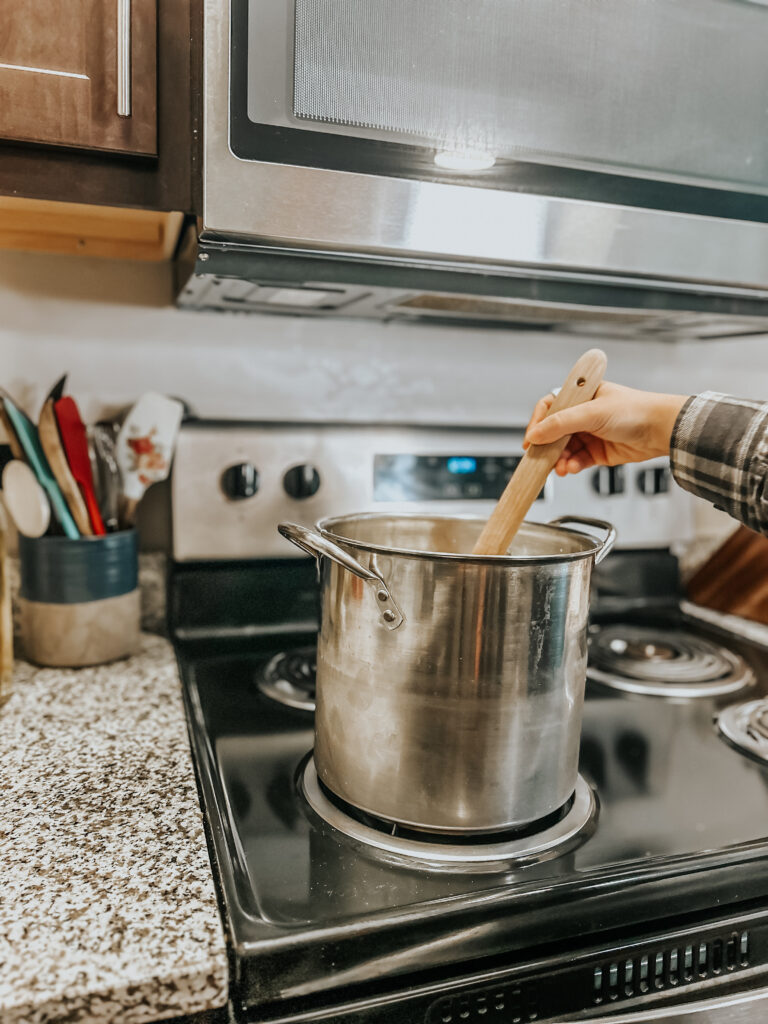
2. Curding Process:
Once the milk reaches the desired temperature, you’ll notice curds forming. Turn off the heat and let the pot sit undisturbed for about 1 hour to allow the curds to develop fully.
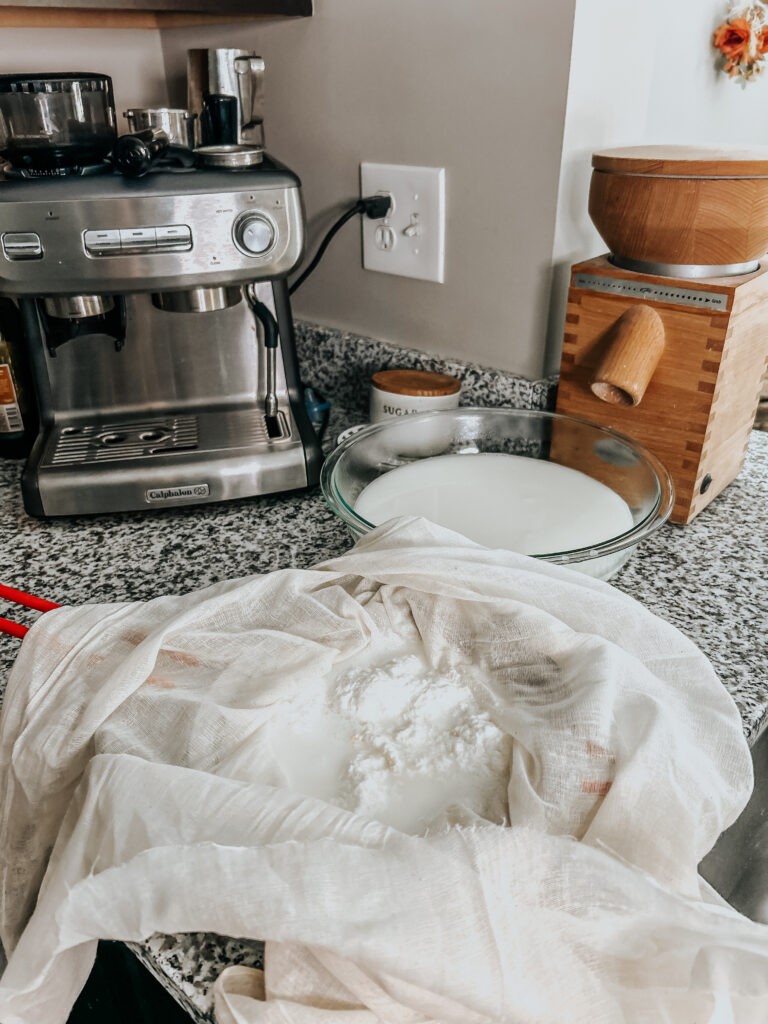
3. Strain the Curds:
Line a fine-mesh strainer with cheesecloth and place it over a large bowl. Carefully ladle the curds into the strainer, allowing the whey to drain.

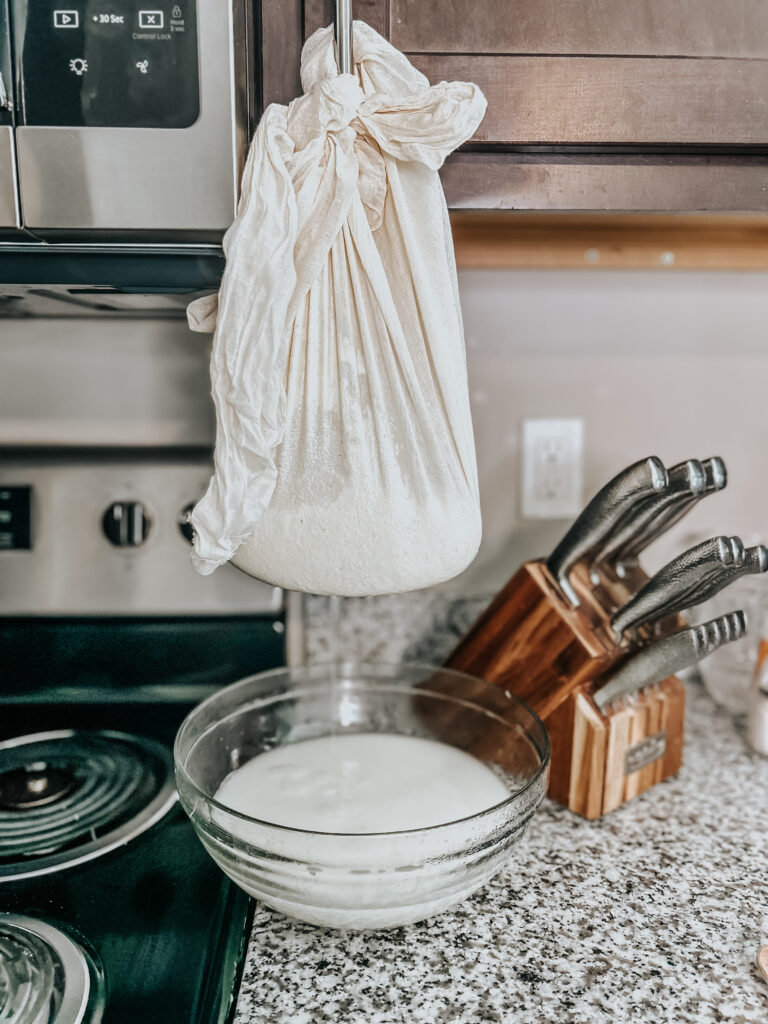
4. Draining and Cooling:
Let the ricotta drain for 30 minutes for a creamier texture, or longer if you prefer a drier consistency. Once drained, let it cool to room temperature.
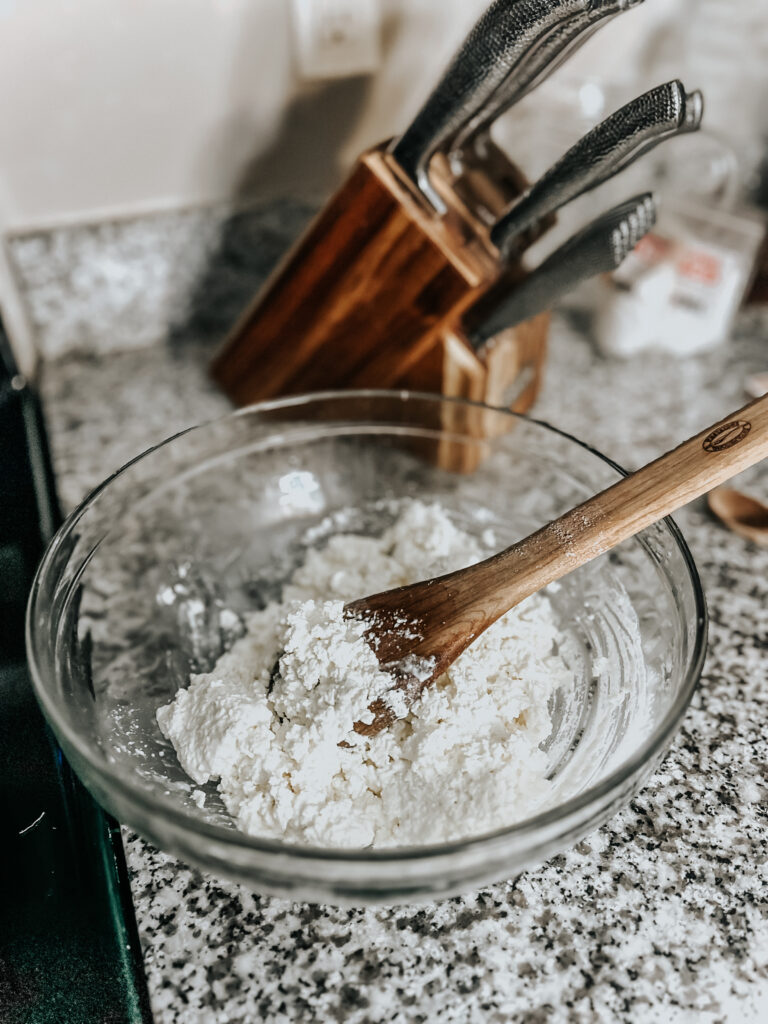
4. Add Cream:
Transfer the curds to a mixing bowl and gently fold in the heavy cream.
7. Storage:
Transfer your homemade ricotta to an airtight container and refrigerate. It can be stored for up to a week.
Ideas to Enjoy Homemade Ricotta:
1. Lemon Ricotta Pancakes:
Incorporate ricotta into your pancake batter for an extra-fluffy texture. Add a hint of lemon zest for a burst of freshness. This recipe is so delicious!
2. Herbed Ricotta Crostini:
Spread your homemade ricotta on toasted baguette slices and top with fresh herbs, cherry tomatoes, and a drizzle of olive oil.
3. Ricotta and Spinach Stuffed Shells:
Fill jumbo pasta shells with a ricotta and spinach mixture, bake with marinara sauce, and indulge in a comforting Italian dish.
4. Ricotta Parfait:
Layer ricotta with honey, granola, and fresh berries for a delightful and wholesome dessert or breakfast treat.
5. Ricotta and Roasted Red Pepper Dip:
Blend ricotta with roasted red peppers, garlic, and herbs for a flavorful dip to accompany your favorite crackers or vegetable sticks.
Controlling the Texture of Ricotta Cheese:
Achieving the perfect texture for your ricotta involves adjusting a few key factors:
Draining Time: Longer draining times result in drier ricotta, suitable for dishes like stuffed pasta. Shorter draining times yield a creamier texture, ideal for spreads and dips.
Cream Ratio: Experiment with the amount of heavy cream added. More cream creates a silkier ricotta, while less cream yields a firmer texture.
What to do with the Leftover Whey:
The whey, the liquid separated from the curds during the cheese-making process, is a versatile byproduct. Consider these to prevent wasting it:
Baking: Substitute whey for water in bread or pastry recipes for added nutritional value.
Smoothies: Add whey to your morning smoothie for a protein boost.
Cooking Grains: Use whey to cook rice, quinoa, or oats for an extra layer of flavor.
How to Store Ricotta Cheese:
To keep your homemade ricotta fresh:
Airtight Container: Transfer the ricotta to an airtight container to prevent absorption of odors from the refrigerator.
Refrigeration: Store in the refrigerator for up to a week.
How to Freeze Ricotta Cheese:
If you have surplus ricotta, freezing is an option:
Portioning: Divide into small portions to thaw only what you need.
Freezer Bags or Containers: Use airtight freezer bags or containers to prevent freezer burn.
Thawing: Thaw in the refrigerator for 24 hours before use. Stir well to restore the texture.
Now that you’ve got the hang of making ricotta at home, mastering the art of texture control, finding clever uses for leftover whey, and telling the difference between ricotta and cottage cheese, you’re all set to confidently store and freeze your homemade ricotta. Let your homemaking creativity shine as you enjoy the goodness you’ve whipped up in your own kitchen!
Next you should try making Homemade Greek Yogurt. I have it all right here on the blog in simple step-by-step.
Shop The Mozzarella & Ricotta Cheese Kit
CODE: “KIERSTENX15” for 15% off your order
")
KeEp Reading
previous blog post
Leave a Reply
OSEA MALIBU
The BEST 72 hour lasting clean face & skin moisturizer!
DIME BEAUTY
Lash serum, Clean Perfumes that smell AMAZING, glowing skincare.
PEMF MAT
The frequency to support healing. It's heated to help you relax. Lexi uses it too!
CULTURES FOR HEALTH
Lash serum, Clean Perfumes that smell AMAZING, glowing skincare.
")
")
F A V O R I T E
T H I N G S
Here, you'll find a carefully curated list of items that I've personally tried and loved, covering everything from household items to fashion accessories, and more.
If you crave a life that's focused on homemaking, clean living, and/or western fashion, then you're going to love what I'm loving.
MY MOST LOVED THINGS IN ONE PLACE


Be the first to comment