Preserving tomato’s easily – Fermented Tomato Recipe


Preserving tomatoes from your garden doesn’t need to require a lot of work! There are different ways to preserve your harvest but when you’re busy with all the things when that time comes on the homestead, sometimes you just don’t have a lot of time to do the full canning thing. This is a quick easy solution especially if you’re needing to take care of a lot of tomatoes fast to prevent you from losing them for your winter supply of food.

Ways to Preserve Tomatoes:
– canning
– freezing
– dehydrating
– fermenting
There are many ways to preserve your harvest!

What’s the Easiest Way to Perverse Tomatoes?
One of the easiest ways to preserve is fermenting tomatoes. You don’t need a lot of supplies to do this and it’s a very simple process. It isn’t too time-consuming either! It can be a great way for you to preserve a harvest fast if your tomatoes are on their last days and need to get used up to save for winter. Have you ever tasted a fermented tomato? They are so good! We love it for a mix up between regular canned tomatoes.
Benefits of Fermented Tomatoes:
There are so many benefits a fermented tomato! Here are a few:
+ easy to make
+ don’t need a lot of supplies
+ very simple process
+ great way to preserve a harvest fast
+ gut health benefits like probiotics
+ they store easily
What Kind of Tomatoes Should Be Fermented?
Any kind of tomatoes can be fermented! Whether you have cherry tomatoes, roma tomatoes, or any other kind of tomato, they can all be fermented. Even green tomatoes can be fermented.

Tools Needed for Fermented Tomatoes
You will want this list below of things for fermenting tomatoes. I really recommend fermentation weights for this!
Tools for Fermented Tomatoes:
+ a large mason jar or fermentation crock
+ a weight that fits inside the jar (a smaller mason jar filled with water works great as a weight)
+ a cloth to cover the top of the jar (a coffee filter or clean dish towel works great)
+ rubber band or mason jar ring
Ingredients for Fermented Tomatoes:
+ tomatoes
+ salt (non-iodized) – This salt is mined in the U.S and has actual minerals that your body needs!
+ Spices like garlic, basil, onion.

Tips for Fermenting:
+ make sure your work area is clean
+ sterilize your tools if you’re worried about bacteria
+ wash your hands well
+ use actual fermentation weights to make sure the tomatoes stay under the brine.
Follow these simple steps below and you’ll have a good, fermented tomato to try in no time! And remember, don’t let them sit out for more than a day or two before putting them in the fridge. The fermentation process will continue even in the fridge so keep that in mind when deciding how long to let them ferment on the counter.
How to Store Fermented Tomatoes
The best way to store your fermented tomatoes is in the fridge or root cellar! If you’re storing them in a root cellar you want it to stay around 40 degrees. The fermented tomatoes should last about 6 months that way.
When we stored some of ours, we didn’t store them in a cold enough place and they started going bad. It is also very important to use a clean fork (not double-dipping in the jar) every time you are getting them out.

When you’re fermenting it’s common to see kahm yeast on top of your brine. This post shows you the difference between kahm yeast and mold!
Fermented Tomatoes easy: Step by step
Ingredients:
- 1lb Tomatoes
- Salt (non-iodized) (2-3 TBS)
- Spices like garlic, basil, onion.
- Water
Tools:
-A large mason jar or fermentation crock
-A weight that fits inside the jar (a smaller mason jar filled with water works great as a weight)
-A cloth to cover the top of the jar (a coffee filter or clean dish towel works great)
-Rubber band or mason jar ring Directions:
Instructions:
Wash your tomatoes and then cut them in half (or leave them whole). If you’re using cherry tomatoes, you can leave them whole. Place the tomatoes in your fermentation vessel. Add enough salt so that there are about 2-3 TBS of salt per pound of tomatoes. Mix everything together so that the salt is evenly distributed among the tomatoes.
Next, add in your spices. We like to use garlic, basil, and onion but you can really use any combination of spices that you like. Get creative! Once the spices are added, give everything a good stir so that they’re evenly mixed in.
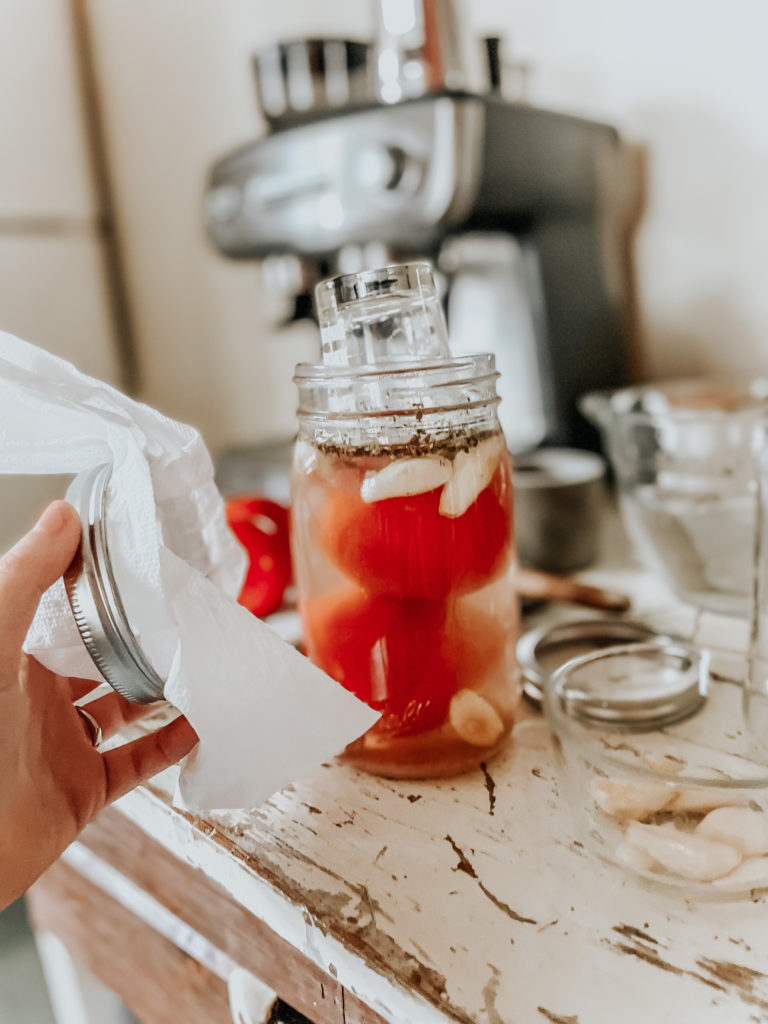
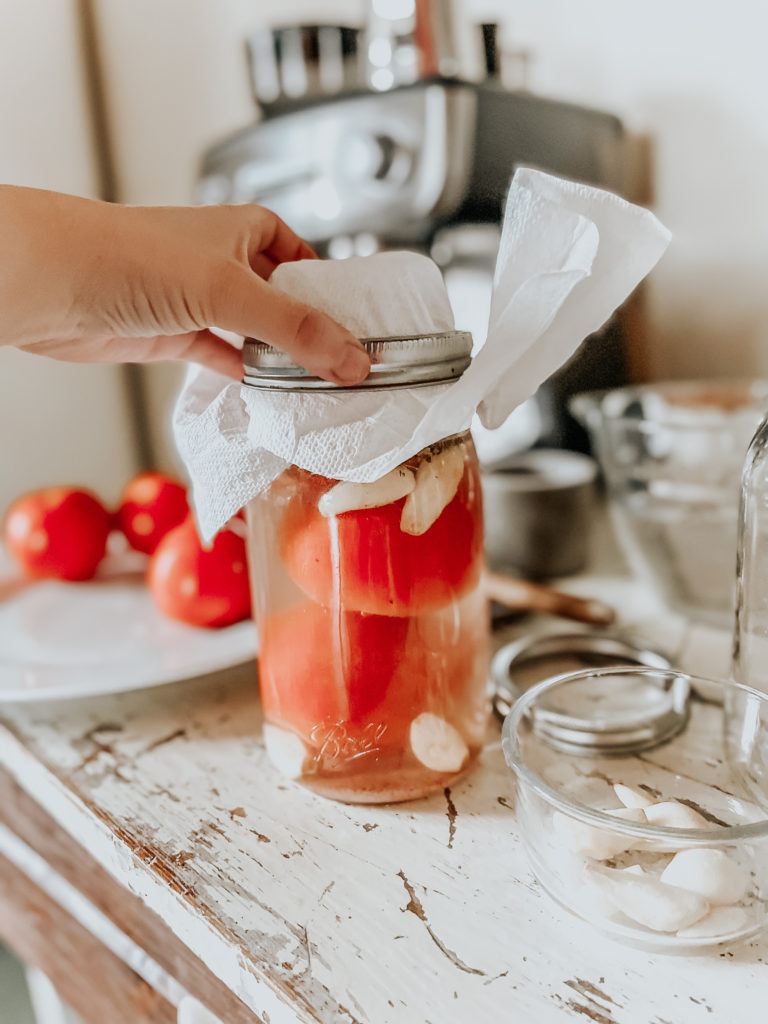
Now it’s time to add the weight to keep the tomatoes submerged under the brine. You can use a smaller mason jar filled with water or fermentation weights made specifically for this purpose. Place the weight(s) on top of the tomatoes making sure that they’re completely submerged and cover the vessel with a coffee filter or clean dish towel secured with a rubber band or mason jar ring.
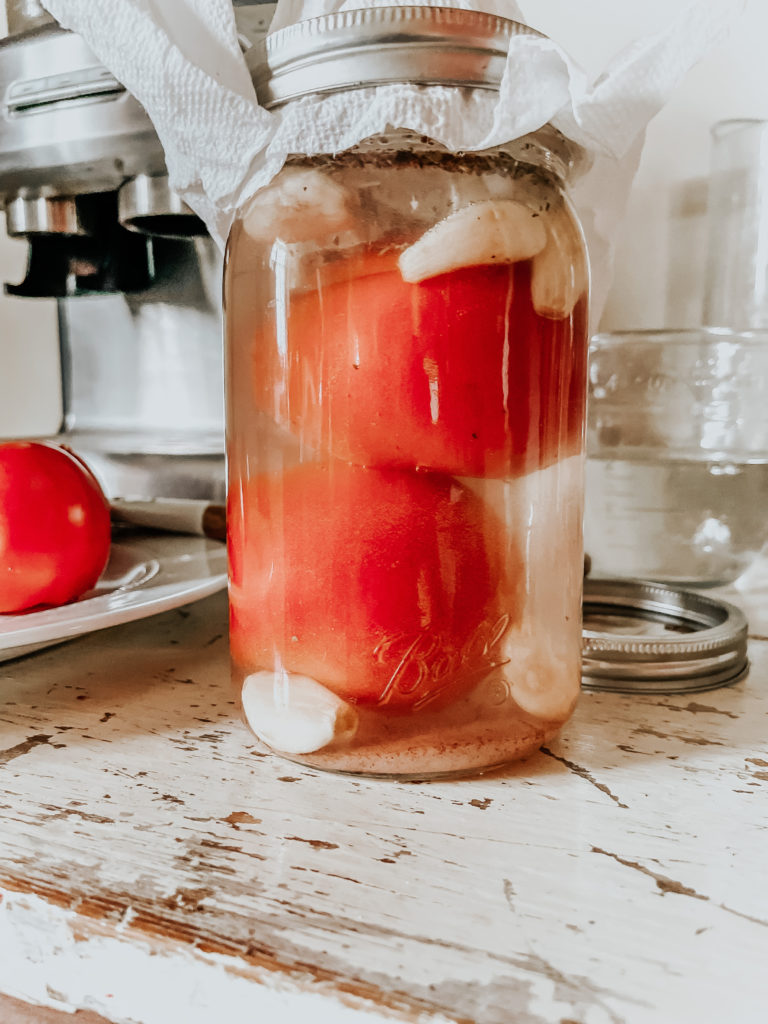
Leave your fermented tomatoes out on the counter for two days and then transfer them to the fridge. The fermentation process will continue even in the fridge so keep that in mind when deciding how long to let them ferment on the counter. Burp the jar every few days by gently opening the lid to let the air out. It takes about 2 weeks for the fermentation process to be done once it’s in the fridge. When the brine is less cloudy you know it’s done! Fermented tomatoes should last about six months in the fridge.
Enjoy your delicious fermented tomatoes!
Frequently Asked Questions About Fermenting Tomatoes
+ Can I Use Different Spices
Yes! get creative and try adding some different spices to the recipe.
+ What Kind of Water to Use to Make the Fermentation Brine?
You don’t want to use chlorinated water. Try using distilled water instead so it doesn’t interfere with the fermentation process!
+ Can you Ferment Green Tomatoes?
Yes, you can ferment green tomatoes!
+ What if my brine is foggy or has bubbles?
If your brine has bubbles or is foggy it means the fermentation process is starting! Check out this post on Kahn yeast. It will show you the difference between yeast and mold.
Other Preservation Recipes
How to Dehydrate Garlic: A Step-by-Step Guide
How to Make Vinegar Out of Leftover Fruits

Equipment
- a cloth to cover the top of the jar (a coffee filter or clean dish towel works great)
- rubber band or mason jar ring
Ingredients
- 1 lb of Tomatoes
- 2-3 TBS Salt (non-iodized)
- Spices like garlic, basil, onion
- Water
Instructions
- Wash your tomatoes and then cut them in half (or leave them whole). If you're using cherry tomatoes, you can leave them whole.
- Place the tomatoes in your fermentation vessel. Add enough salt so that there are about 2-3 TBS of salt per pound of tomatoes.
- Mix everything together so that the salt is evenly distributed among the tomatoes.Next, add in your spices. We like to use garlic, basil, and onion but you can really use any combination of spices that you like. Get creative! Once the spices are added, give everything a good stir so that they're evenly mixed in.
- Now it's time to add the weight to keep the tomatoes submerged under the brine. You can use a smaller mason jar filled with water or fermentation weights made specifically for this purpose. Place the weight(s) on top of the tomatoes making sure that they're completely submerged and cover the vessel with a coffee filter or clean dish towel secured with a rubber band or mason jar ring.
- Leave your fermented tomatoes out on the counter for two days and then transfer them to the fridge with a mason jar lid. The fermentation process will continue even in the fridge so keep that in mind when deciding how long to let them ferment on the counter. Burp the jar every few days by gently opening the lid to let the air out. It takes about 2 weeks for the fermentation process to be done once it's in the fridge. When the brine is less cloudy you know it's done! Fermented tomatoes should last about six months in the fridge. Fermented tomatoes should last about six months in the fridge.
There you have it, an easy recipe for fermented tomatoes that anyone can follow! With just a few simple ingredients and tools, you can enjoy these delicious and nutritious snacks all year long. So, what are you waiting for? Get fermenting! A fermented tomato not only taste great, but they’re also packed with probiotics that are good for your gut health. So go ahead and give this recipe a try, your gut (and taste buds) will thank you!
What Vegetables Should You All Plant in Your Garden this Year?
Check out my top 12!
")
Leave a Reply
OSEA MALIBU
The BEST 72 hour lasting clean face & skin moisturizer!
DIME BEAUTY
Lash serum, Clean Perfumes that smell AMAZING, glowing skincare.
PEMF MAT
The frequency to support healing. It's heated to help you relax. Lexi uses it too!
CULTURES FOR HEALTH
Lash serum, Clean Perfumes that smell AMAZING, glowing skincare.
")
")
F A V O R I T E
T H I N G S
Here, you'll find a carefully curated list of items that I've personally tried and loved, covering everything from household items to fashion accessories, and more.
If you crave a life that's focused on homemaking, clean living, and/or western fashion, then you're going to love what I'm loving.
MY MOST LOVED THINGS IN ONE PLACE


Be the first to comment